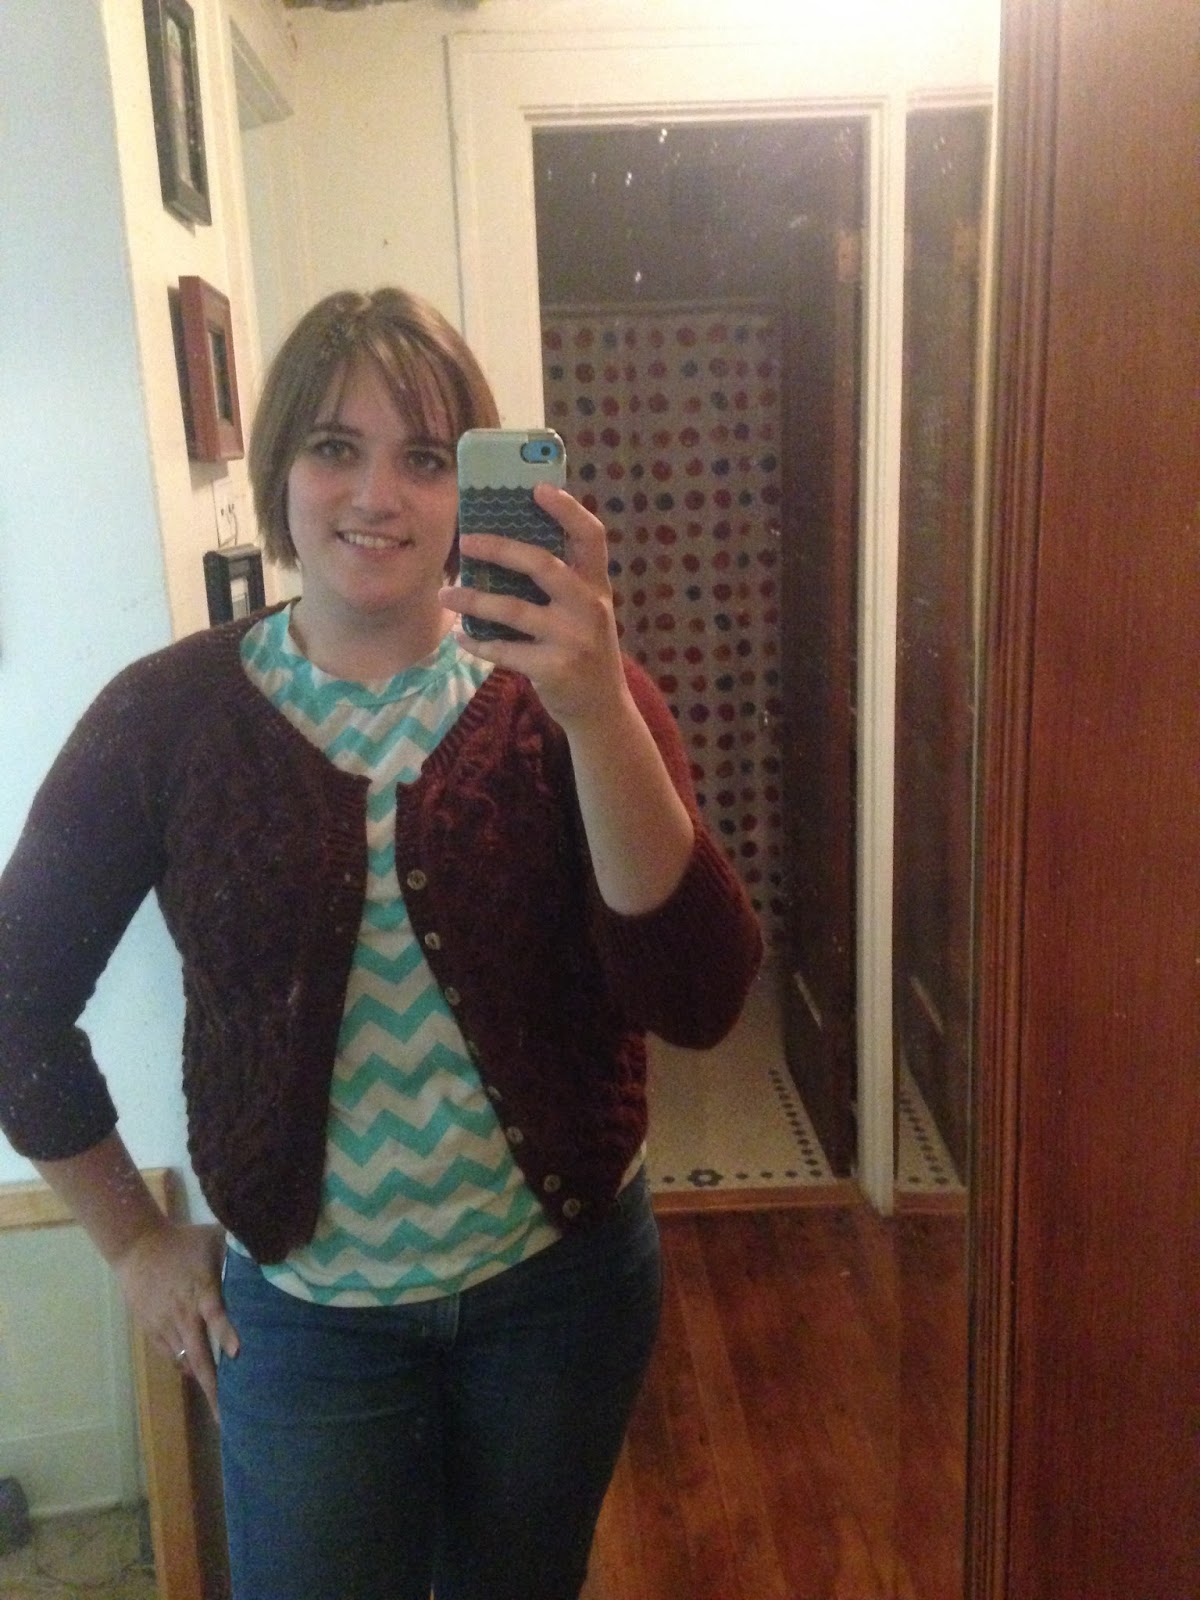
Showing posts with label cardigan. Show all posts

Tuesday, March 29, 2016

Sometimes the Fabric Speaks

On Saturday I made an a-line skirt. I ended up having to draft the pattern for it myself because when I looked through my stash of patterns every skirt that I had was very full, but the flower pattern on my fabric had really clear verticle directionality that just wouldn't work with a circle skirt, at some point somewhere on the skirt I would have ended up with sideways flowers. It's hard to see in the picture, but the flowers all have stems.

I'm glad that I realized that before I started cutting out skirt pieces.

I was going to write something up about how I drafted the pattern, but I forgot to take pictures of that part of the process. The skirt was pretty simple, basically just the front and two back pieces. I made a facing, rather than do a waistband. I used french seams on the side seams and a clean seam for the back seam with the zipper. Because I drafted it myself I gave myself very generous seam allowances, The back I used a 1" SA so I could turn over the edge of the fabric and still have plenty to work with while sewing in the zipper.

I did end up having to finagle the fit a little at the end, it was good through the hips, but a little loose at the waist. Either my math was bad, or my measurement. I'm not sure which.


All in all, I am really pleased with my finished skirt. 

I had a heck of a time taking pictures though because it was super windy. 

Also, I love this outfit, everything I am wearing here I made myself, and that is a really incredible feeling. I talked about the sweater here, the collared shirt here, and the cami under that shirt here. I'm also wearing a rayon slip that I know I made within the last year, but that I apparently never bothered to write about, so it looks like I've got another post about my underwear coming up.

Sunday, October 18, 2015

Sweaters: the Good and the Bad

So, remember back in August when I wrote this post about my orange cardigan and how much I liked it? Remember how at the end of the post I said I was a bit bummed that the yarn was handwash only, but it wasn't that big a deal? Yeah...I totally felted that sweater. I didn't even realize that it had ended up in the wash.

That face is the one that Fiance calls my "Muppet Face" because apparently only puppets should be able to frown that deeply. He thinks it's a creepy face, but I think it's appropriate for felting a sweater. Obviously the sweater didn't shrink too much, and it is still wearable, but it doesn't hang right anymore. I think it shrank more in length than width and the seams are oddly stiff now making the hips flair in odd ways. 


Not totally ruined, but not wonderful anymore either. 

In better news I finished a new sweater this week. 


This one is also made with knit picks yarn, this time it's Palette. This one is also not superwash, so again I'll need to be careful (a bit more careful this time) when washing. I like the Palette line of yarns because it comes in so many wonderful colors, and it is inexpensive. It's got a little bit of that wool itch, but not enough to keep me from wearing it next to my skin. I used the color Hazelnut for this sweater, and it is a wonderful rich brown.  It's a bit lighter than it looks in the pictures. We've entered the rainy season here in Washington so I'm having problems getting good lighting for pictures again. 


The pattern is Casual Lace by Justyna Lorkowska. I know you can't really see the lace pattern in these pictures (grrrrr bad lighting) but it is a pretty pattern. It's a top down knit, I modified the sleeve length to be 3/4 because I have a habit of pushing my sleeves up and ruining them getting them all stretched out that way. One of the things I particularly liked about this pattern was the twisted rib used at cuffs, collar and bottom/button bands. I meant to take a close up picture of it and compare it to regular rib so you could see the difference, but I forgot. Oops. 

So, one messed up sweater, but one that turned out well. And maybe someday I'll even finish that darn sock...

Monday, September 28, 2015

Sailboats Galore Again!

Yesterday I posted about Fiance and his friends building a boat. Today I'm going to talk about what I wore while they built.

Their competition started on Friday, but I couldn't join them until Saturday because I had to work. So rather than sit at home and just pout that I wasn't with the boys I decided to make myself a new nautical themed dress.

Normally I avoid Simplicity patterns because I always end up swimming in them if I make the size indicated on the package, but they were on sale and I didn't want to spend a lot so I was leafing through the lookbook and I found Simplicity 1080 (I made view A). They called it a "Granny Chic" tunic. I don't really understand why. Maybe because they posed the model holding some yarn? (Let's all try not be offended at yet another implication that knitting/crocheting as a thing only old people do) It certainly doesn't look like anything my grandmother would wear.

So I was looking at the pattern and I spotted something I had never noticed before (probably because it's been so many years since I made a simplicity pattern and when last I looked at them I didn't really understand ease). At the bottom of the envelope was a list of finished garment measurements. And no wonder I always ended up swimming in my finished garments because they give, like, four inches of positive ease. I mean, it's a pull over in a woven fabric, so you need some ease, but four inches seemed truly excessive to me, so instead of making the large the pattern said I needed to accommodate my bust, I went with a medium, and low and behold the fit was perfect!


Here I am in Port Townsend wearing the dress. It was an absolutely beautiful sunny day with tons of adorable sailboats in the water behind me all day, but I couldn't pull Fiance away from his build long enough to take pictures then. So instead you get a gloomy twilight shot with my sweater on because it was cold and windy by that point. (Also, do you recognize the bag? It's the one I talked about in this post. I brought it with me because it was all I had big enough to carry two meals worth of food for four hungry men)


And here is a badly lit shot of the whole dress so you can actually see what it looked like. Isn't that nautical fabric adorable!


The pockets were a huge reason that I picked out this pattern. Normally I'm not a big one for patch pockets, but these were cute and big enough to actually be functional. And most importantly not right over my breasts. I don't understand why designers seem to insist of putting pockets on nipples like I need to be drawing any extra attention to my boobs. Anyway, I'm a sucker for a dress with functional pockets. 


The dress had some interesting construction details. The neck, shoulder, arms and hem were finished with single fold bias tape. I've never used it to finish a hem like this, but I rather liked it for the neck and arms. Next time I think I will skip it in favor of a narrow hem on the bottom because the dress is just wide enough that you need a second package of tape for the last four inches of hem. 


This is also the first pattern I've seen that includes instructions for finished seams. In this case, it called for french seams on the sides. Even if it hadn't I would have done them anyway because I like my clothes nice and neat and finished on the inside, but I liked seeing a pattern that agrees with me.

Another note of interest on the pattern, the pieces were not nested so you had to hunt out the size that you needed for each piece. It certainly made it easier to cut out, but it also makes for a very thick envelope when you are trying to put all the tissue away. 

And last but not least, this dress illustrated the importance of back-tacking. I was tired and in a hurry and I somehow completely forgot to back tack the tucks on the front of the dress, so by the end of the day they had pulled completely out. It's a good thing the back ties were attached first and then hidden by the tuck instead of doing it all in one seam or I would have lost the ties on the dress too. 

If you look closely in the picture you can see the needle holes where the tuck used to be.

I followed those holes to quickly fix the tucks before I washed the dress. It was a bit fiddly to do the second time since the back was attached to the dress now, but I got it and now it is fixed, and back-tacked so it won't be going anywhere a second time. 


Overall I am super pleased with this dress. It's comfy, it fits well and it was really easy to make. I think it only took a couple hours Friday night. Oh, and don't let the thought of turning those long skinny ties turn you off, they are folded lie bias tape and top-stitched, so no turning required! I am totally going to make this pattern again. Next time I think I'll do it in the tunic length. 

Friday, August 14, 2015

My Orange Cardigan

So, I did not finish the second sock this week. Shame on me, I know. But I did finally finish a cardigan that I started in February and I am pretty happy about that.


This cardigan took me forever to finish knitting because the pattern gave me absolute fits. It's Ann's Cardigan from the Knit Pick's website. The finished product is adorable, and I'm happy with it, but I had to modify the front and the sleeves to actually get it to work. 

The front I changed the rate of decreases to shape the v-neck (decreased every RS row instead of every fourth row) because when I followed the pattern I ended up with the front three inches longer than the back.  That could just have easily been my guage as the pattern though. I always check horrizontal guage but I rarely check verticle. Bad me, I know, but length is easier to adust on the fly then width (side note: it was a good thing I checked on this sweater because I had to go down two needles sizes before I got gauge so either I knit really loosly or the designer knits tight).

The sleeves were really what gave me fits on this pattern.


I'm really happy with the way they turned out, but it took me four trys to get them right. I ended up working my increases into every 10th row until I had 99 sts on the needle. The pattern didn't have steady increases and I think the furthest apart the increases were done was every 6 rows. The sleeves as written were seriously oddly shapped and I could have fit both my arms in one sleeve. 

I ended up just sort of guessing how to shape the sleeve cap, and I pretty much just got lucky that it worked. To shape the sleeve cap I: BO5 at beg of next 4 rows, work decrease (k2 ssk…k2tog k2) row 12 times every RS row, BO 2 sts beginning of every row 6 times, BO 4 sts at the beginning of next 4 rows, BO remaining sts.

The sleeves maybe ended up a little long, but I like to be able to cover my hands with my sleeves so that doesn't bother me in the slightest. 

Like I said, it may have been some extra work but I am happy with how it turned out. here is a picture of the back so you can see the lace design there.


I do have to take a moment to praise the yarn. It's Knit Picks Gloss Fingering in the colorway Masala. The color is a beautiful rich orange and the yarn is soft and warm. I would totally buy this yarn again. It's pretty reasonably priced for a wool/silk blend (and oh boy can you see the silk in the luster of this yarn). The only thing I don't like is that it's hadwash only because it might felt, but what's a little handwashing in the grand scheme of things?