Showing posts with label sweater. Show all posts

Friday, June 24, 2016

Sweater Weather?

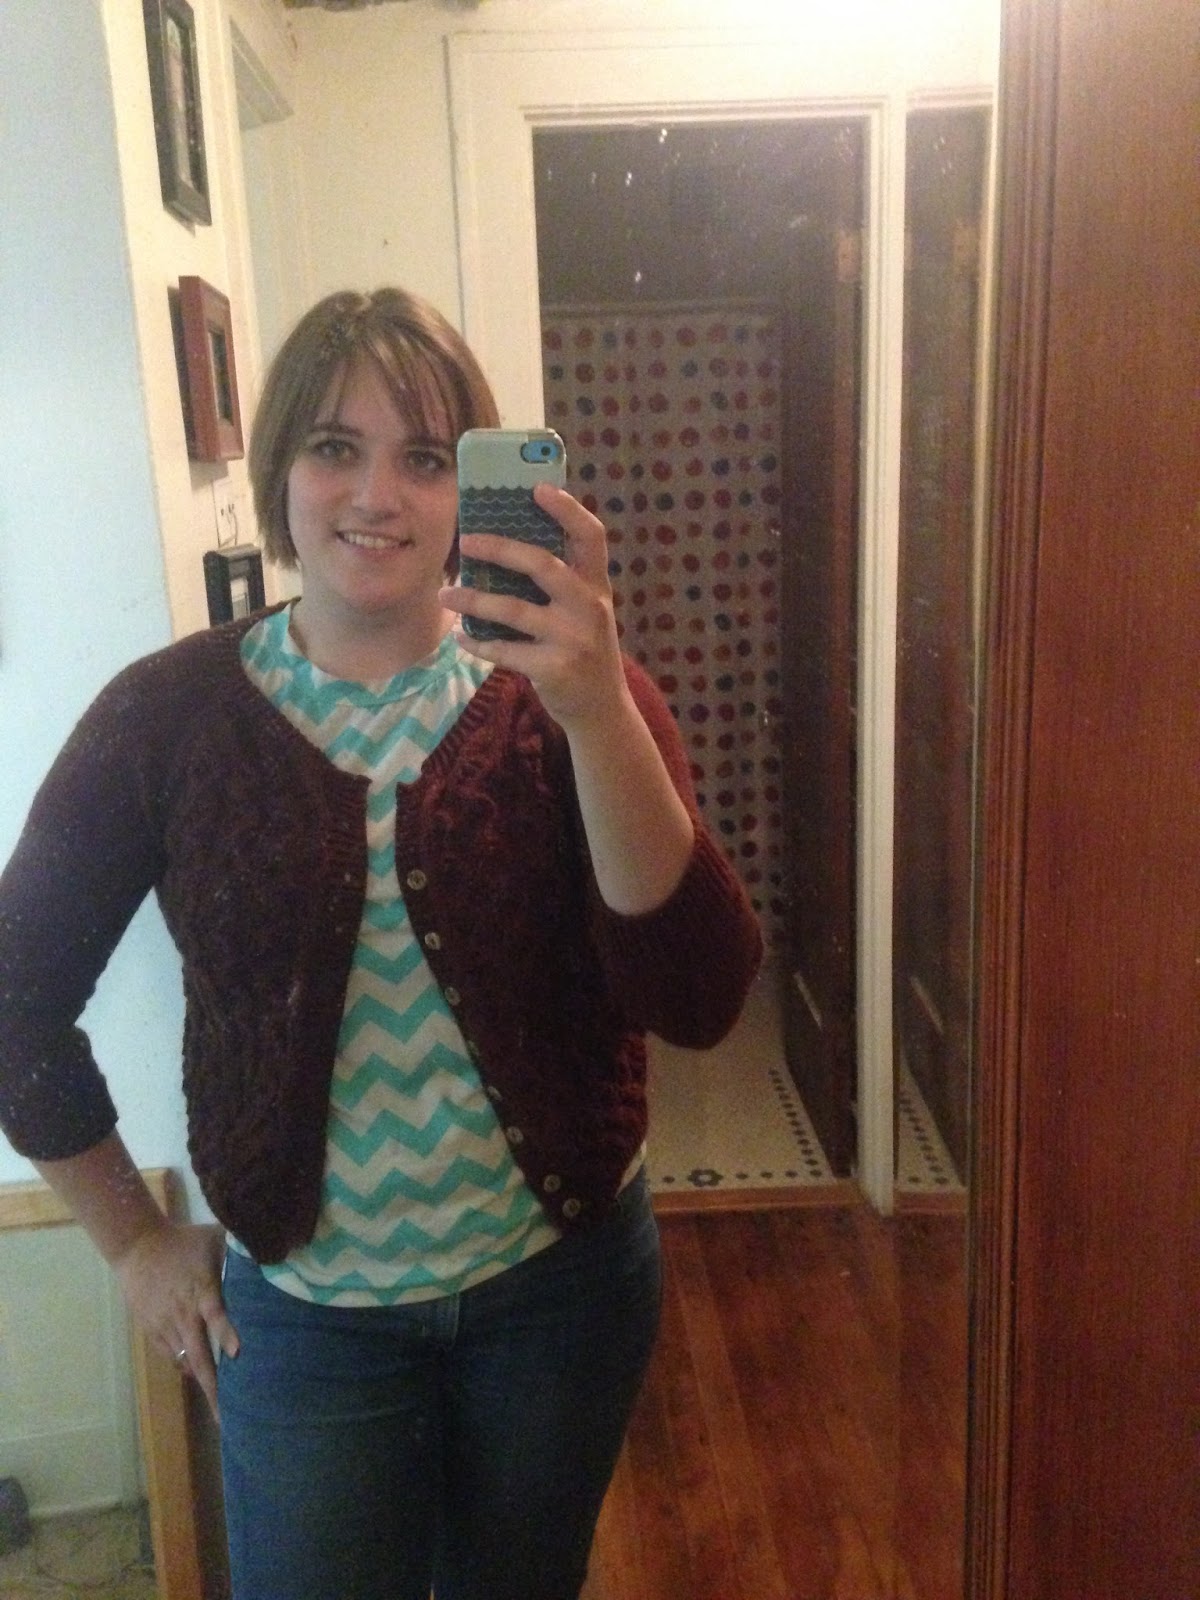
A couple of weeks ago it was 90 degrees out and I was totally desperate to do something, anything, that had nothing to do with my wedding, so I finished knitting a wool sweater.

It was way way way too warm to wear a sweater, so I put it on for, like, 30 seconds, snapped a picture and called it good. 

I haven't posted about it until now because I kept thinking I would take the time to take a better picture, but I haven't gotten around to that yet, so no good picture for you :)

Anyway, I am very pleased with the final fit of the sweater. It has a hi-low hem which I'm not sure I really like, but it is super duper comfy. I think of it as the sweatshirt sweater because it's that level of comfort, but just by being a sweater it looks 10x more professional. It's hard to tell in the picture because the lighting is terrible but it's a nice gray-blue color. The yarn is Brooklyn Tweed Loft (the fancy 100% USA made yarn I talked about a while back) and the pattern is Brooklyn Tweed Gable. It was a total snap to make, wonderfully mindless. All in all a great mental break from wedding projects.

Now that I've gotten it done I am throwing myself into wedding stuff with a renewed vigor and determination. I've got 1 month to get everything done

Sunday, April 3, 2016

Sweater Seams

I didn't post on Saturday because I thought I had nothing to say. I have actually caught the blog up with all of my finished objects. Last night a friend and fellow blogger came over for dinner and I was lamenting my lack of post ideas. She astutely observed that I can talk about projects before they are finished. She even pointed out that people might be more interested in how I make things rather than just seeing what I've made.

And so, without further ado, I present a sweater in progress.


My sweater only needs one more sleeve. Tragically that half a ball of yarn where the other sleeve should be is all that I have left, and it's not going to be enough to finish the sleeve, so now I am sort of on hold until I can get another ball. 

But in the mean time I thought I could talk about seaming a sweater. I firmly believe that the finishing work on a sweater is what makes the difference between being hand-made versus home-made.

I like to do the finishing work as I go for a variety of reasons. 1) weaving in the ends of one sleeve isn't nearly as arduous and weaving in the ends on an entire sweater. (Let's be real, we all know at least one knitter who could have a beautiful finished object who just never bothered to weave in the ends.) 2) Sewing together the peices of the sweater as I go allows me to check fit before everything is done. Before I knit this sleeve I knew my sweater would fit because I had already sewed together the front and back and tried it on. 3) If it doesn't fit it allows me to make changes without having to frog the whole thing.


So, after I weave in the ends of my sleeve I start sewing up the long straight seam. Most tutorials on seaming recommend sewing the shoulder seams of a sweater, then sewing the sleeve cap, and finally treating the side seam and sleeve as one long seam. I don't like doing that because it means I have to have everything done before I can do any seaming. 

When I sew my seams I work with the right side visible, that way I can see what my finished seam will look like and fix any icky spots. 

Use your needle to pick up two of the bars between stitches on one side of the fabric. 


Then pick up two bars on the other side of the fabric. This is easier to do if you use both hands, instead of taking a picture with one hand. 


Pull your thread tight between stitches.This is where working from the right side really helps because you can control the tension of your seam more easily when you can see it. You really don't want to pull the seam too tight or leave it too loose; just like when you are trying to get a good, even, tension while knitting.


Because I'm sewing the side seam before doing the sleeve cap I don't want to sew it up all the way, instead I stop a couple inches before the sleeve cap shaping, then I jump to my sleeve cap. When working the cap always start in the middle of the cap and work your way down to the armpit, then go back up and do the other side. This helps keep everything nice and even. 


Sewing the sleeve cap is a little trickier than the side seams because you don't have the same directionality on all your stitches. Instead of picking up the bars between stitches on your sleeve you will be inserting your needle underneath a stitch.


On the body of the sweater you are still picking up the bars.


And once again, just keep sewing. This is really the place that you want to be patient. Don't work on seaming if you are in a hurry.


Sew all the way down to the armpit join.


Then go back to the top and work your way down the other side. When it's all done you won't be able to tell that your seam was done in pieces. In the picture below my needle is pointing to my starting spot.


Once your sleeve cap is done, go back and finish your side seam. Everything should line up nice and neatly, but sometimes you end up having to ease in a couple of stitches. If you are off by a stitch or two, I wouldn't worry, but if you end up off by inches I would take the seam apart and start again.

And this is what your seams should look like on the inside. Aren't they nice and neat?


Some sweater patterns will use a two stitch selvedge, the pattern I'm working with here only used one. Some don't include one at all and you will need to add it yourself. Make sure that you check your pattern before your begin, especially if your pattern includes ribbing because you want your ribbing to line up correctly like mine does on the sleeve.


I love nice neat seams. I think learning to seam my sweaters correctly made the single biggest difference in my knitting. If finishing is something that you struggle with I would highly recommend Deborah Newton's book Finishing School: A Masterclass for Knitters. 

Sunday, October 18, 2015

Sweaters: the Good and the Bad

So, remember back in August when I wrote this post about my orange cardigan and how much I liked it? Remember how at the end of the post I said I was a bit bummed that the yarn was handwash only, but it wasn't that big a deal? Yeah...I totally felted that sweater. I didn't even realize that it had ended up in the wash.

That face is the one that Fiance calls my "Muppet Face" because apparently only puppets should be able to frown that deeply. He thinks it's a creepy face, but I think it's appropriate for felting a sweater. Obviously the sweater didn't shrink too much, and it is still wearable, but it doesn't hang right anymore. I think it shrank more in length than width and the seams are oddly stiff now making the hips flair in odd ways. 


Not totally ruined, but not wonderful anymore either. 

In better news I finished a new sweater this week. 


This one is also made with knit picks yarn, this time it's Palette. This one is also not superwash, so again I'll need to be careful (a bit more careful this time) when washing. I like the Palette line of yarns because it comes in so many wonderful colors, and it is inexpensive. It's got a little bit of that wool itch, but not enough to keep me from wearing it next to my skin. I used the color Hazelnut for this sweater, and it is a wonderful rich brown.  It's a bit lighter than it looks in the pictures. We've entered the rainy season here in Washington so I'm having problems getting good lighting for pictures again. 


The pattern is Casual Lace by Justyna Lorkowska. I know you can't really see the lace pattern in these pictures (grrrrr bad lighting) but it is a pretty pattern. It's a top down knit, I modified the sleeve length to be 3/4 because I have a habit of pushing my sleeves up and ruining them getting them all stretched out that way. One of the things I particularly liked about this pattern was the twisted rib used at cuffs, collar and bottom/button bands. I meant to take a close up picture of it and compare it to regular rib so you could see the difference, but I forgot. Oops. 

So, one messed up sweater, but one that turned out well. And maybe someday I'll even finish that darn sock...

Friday, August 14, 2015

My Orange Cardigan

So, I did not finish the second sock this week. Shame on me, I know. But I did finally finish a cardigan that I started in February and I am pretty happy about that.


This cardigan took me forever to finish knitting because the pattern gave me absolute fits. It's Ann's Cardigan from the Knit Pick's website. The finished product is adorable, and I'm happy with it, but I had to modify the front and the sleeves to actually get it to work. 

The front I changed the rate of decreases to shape the v-neck (decreased every RS row instead of every fourth row) because when I followed the pattern I ended up with the front three inches longer than the back.  That could just have easily been my guage as the pattern though. I always check horrizontal guage but I rarely check verticle. Bad me, I know, but length is easier to adust on the fly then width (side note: it was a good thing I checked on this sweater because I had to go down two needles sizes before I got gauge so either I knit really loosly or the designer knits tight).

The sleeves were really what gave me fits on this pattern.


I'm really happy with the way they turned out, but it took me four trys to get them right. I ended up working my increases into every 10th row until I had 99 sts on the needle. The pattern didn't have steady increases and I think the furthest apart the increases were done was every 6 rows. The sleeves as written were seriously oddly shapped and I could have fit both my arms in one sleeve. 

I ended up just sort of guessing how to shape the sleeve cap, and I pretty much just got lucky that it worked. To shape the sleeve cap I: BO5 at beg of next 4 rows, work decrease (k2 ssk…k2tog k2) row 12 times every RS row, BO 2 sts beginning of every row 6 times, BO 4 sts at the beginning of next 4 rows, BO remaining sts.

The sleeves maybe ended up a little long, but I like to be able to cover my hands with my sleeves so that doesn't bother me in the slightest. 

Like I said, it may have been some extra work but I am happy with how it turned out. here is a picture of the back so you can see the lace design there.


I do have to take a moment to praise the yarn. It's Knit Picks Gloss Fingering in the colorway Masala. The color is a beautiful rich orange and the yarn is soft and warm. I would totally buy this yarn again. It's pretty reasonably priced for a wool/silk blend (and oh boy can you see the silk in the luster of this yarn). The only thing I don't like is that it's hadwash only because it might felt, but what's a little handwashing in the grand scheme of things?

Friday, May 1, 2015

Linen Sweater

So, on April 19th my mom finally met my boyfriend's mom. We went to see Swan Lake, which was fantastic, but we went to a matinee performance so that my boyfriend's family had time to drive home. A matinee, of course, meant I needed a new outfit because I had nothing in between too formal for day wear and too casual for the ballet. I had already started working on my wrap dress before I got the invitation to the ballet, and I had already purchased the yarn I used in the sweater too, but I had to rush a bit to get the sweater done in time for the ballet. I cast on the sweater on March 22 and the morning of the ballet I was sewing on the buttons.


I ended up running out of time before I finished a purse to go with it, but I think my outfit looks fabulous. 


The yarn is Knit Picks Lindy Chain in the colorway Linen. I've never knit with linen yarn before and I have to say it was awesome. I was sort of expecting something like cotton, soft, with a tendency to stretch. I've got to say that it was nothing like that. Yes, the finished fabric does stretch and you can see that it stays wrinkled (obviously I took these photos after wearing the sweater all day), but the yarn was amazing. Working with it, it had a kind of sensual roughness and it feels surprisingly heavy for a fingering weight yarn. The yarn is not soft, but it doesn't itch like some animal fibers, it just feels good. I'm already trying to think of other projects that will let me use it again. 


I feel like I'm going to have to wash this sweater each time I wear it in order to bounce it back to its original shape, just like a cotton sweater. I haven't washed it yet, so I don't know how much recovery it will actually have. In the future, I might avoid linen for sweaters on that basis, but I'm reserving judgment until I do actually wash it.


And speaking of the shape of the sweater: I used the pattern Peacock Eyes Cardigan. It was very enjoyable to knit. I think it might be the first top-down sweater that I've done and I really liked being able to try it on to get the length right. I have a long torso and my sweaters often end up a little shorter than I mean for them too, but this one was just right. I also liked that the pattern had an option for 3/4 sleeves. Usually, I go for long sleeves and then end up distorting the cuffs because I am forever shoving them up to my elbows. I think in the future I'm going to do more sweaters with 3/4 sleeves. 

All in all, I am very pleased with this sweater. It dressed up nicely with my dress, but I think it will also look great with a t-shirt and jeans and the color is a fantastic light neutral. Before the rush for the ballet I had intended to make this sweater with this yarn for it to function as a good versatile sweater and I think it will manage to be exactly that.