Because of the flannel underlining, I decided to line the sleeves of the jacket, not just the body as originally instructed. So I sewed the front, back, and sleeves onto the jacket then did the same for the lining.
Here they both are. The shell is right side out, the lining is inside out, that way then they are put together all of the raw seams are to the inside of the jacket.

Then I inserted the lining into the shell. The trickiest bit here is making sure that the sleeves don't twist otherwise they will bind and not be comfortable. Another note on the sleeves, when sewing them to the body keep in mind that the shoulder seam actual sits forward of the shoulder, not on top, so don't try to match the top of the sleeve to that seam.

Next, I pinned every opening, starting with the neck, then the bottom, then the sleeves, and finally the front. The front of the jacket folds over to create the button band and to secure the lining to the shell. I followed the fold line on the pattern piece, but I think I messed it up a bit because my collar comes all the way to the neck edge and my bottom band was very nearly too short, but in the end I am happy with the fit and I didn't bother sewing buttonholes all the way up the band so I doubt that anyone would notice the collar isn't right (except of course, that I just told you. Oops).
Once everything was pinned in place I sewed the button band.

Next, I sewed on the bottom band. This required the most careful pinning just because it was so long and the lining is super slippery. It really didn't want to stay in place. That was also the reason that I pinned the lining in place even though I knew I would be removing those pins to add the cuffs, collar, and bottom band.

Finally, I add the collar and cuffs. The pattern directions skip adding the collar. On step 30 they don't show it attached, but on 31 they do with not a word on how to sew it on. Fortunately, it is pretty easy. Unfortunately, I totally forgot to take pictures. Just fold and press it in half, right sides together, sew the two short edges at 5/8", clip the corners and turn right side out, press again. Pin and then sew one edge to the neck, flip it up, fold over the inside edge and top stitch it down.
The cuffs were means to have button closures, but the sleeves were wide, and I didn't like the pattern's sleeve placket or lack thereof. I was going to add my own, but frankly, I got lazy, and ultimately just sewed the sleeves shut and sewed on the cuffs.
Ta da! Almost finished jacket. It just needs buttons and buttons holes at this point.

It took me a couple more days to get that far. Gosh darn that whole having to go to work thing, right? Just kidding, I love my job, but it sure does cut into sewing time.
Yesterday I went to the PNW Socktober Yarn crawl, (and yes, I will have a post about that coming up) and took a moment to model some photos of the jacket.

I just love the contrast top stitching, especially on the back, it really shows off the structural lines of the jacket so well! They are much more eye-catching in person than in the photo.
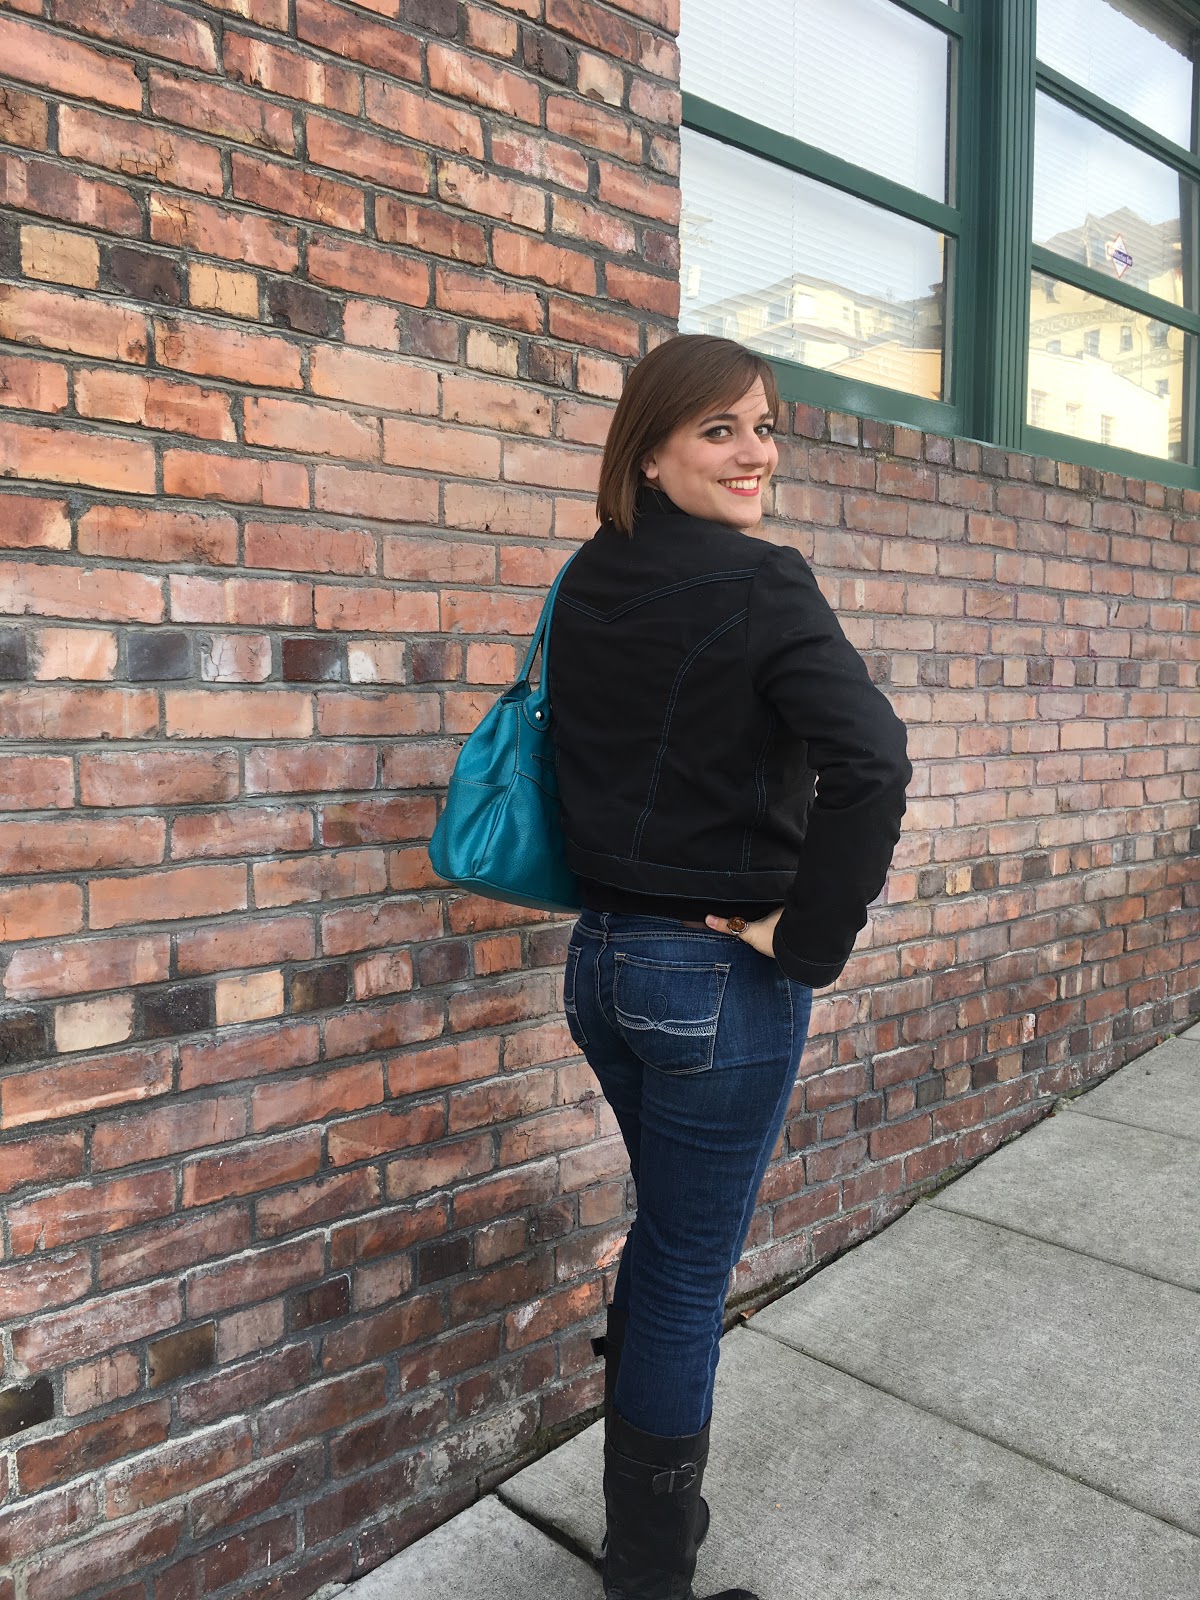
And I got the best compliment that a home sewer can get, a random stranger asked me where I bought my jacket because they wanted one too! I love my new jacket, and I am happily anticipating getting a lot of wear out of it.
What a GREAT job you did on your jacket!! It looks like you will get TONS of wear out of it. Re: the "where did you buy it?" comment... Way to go!!! BEST. Compliment. EVER!!!
ReplyDeleteThank you!
DeleteWhat a GREAT job you did on your jacket!! It looks like you will get TONS of wear out of it. Re: the "where did you buy it?" comment... Way to go!!! BEST. Compliment. EVER!!!
ReplyDelete